Turn Over a New Leaf
by Laura Storey
Treasure your keepsakes in style with this handy trinket dish
A delightful autumn crafting project that combines the beauty of nature with your artistic touch. In this step-by-step guide, we’ll show you how to create an exquisite Autumn Leaf Trinket Dish, perfect for storing your cherished trinkets or adding a touch of seasonal elegance to your home décor.
With just a few simple materials and a touch of creativity, you can transform fallen leaves and modelling clay into a stunning and practical piece of art. So, gather your supplies and let’s get started.
You will need the following:
- Modelling clay
- Fallen leaves (in good condition)
- Metallic paint in your chosen colour

Here’s how to make it:
Step 1: Harvesting the Perfect Leaves
Head outdoors and embark on a stroll through the picturesque autumn landscape. Look for fallen leaves in excellent condition, with beautiful shapes and well-defined veins. Choose leaves that resonate with you, as they will be the inspiration for the design of your trinket dish.
Step 2: Preparing the Clay Canvas
Once you’ve collected your chosen leaves, it’s time to roll out the modelling clay. Find a flat surface to work on and use a rolling pin to create a smooth and even clay surface. Ensure the clay sheet is large enough to accommodate the selected leaf.
Step 3: Impressing the Leaf’s Beauty
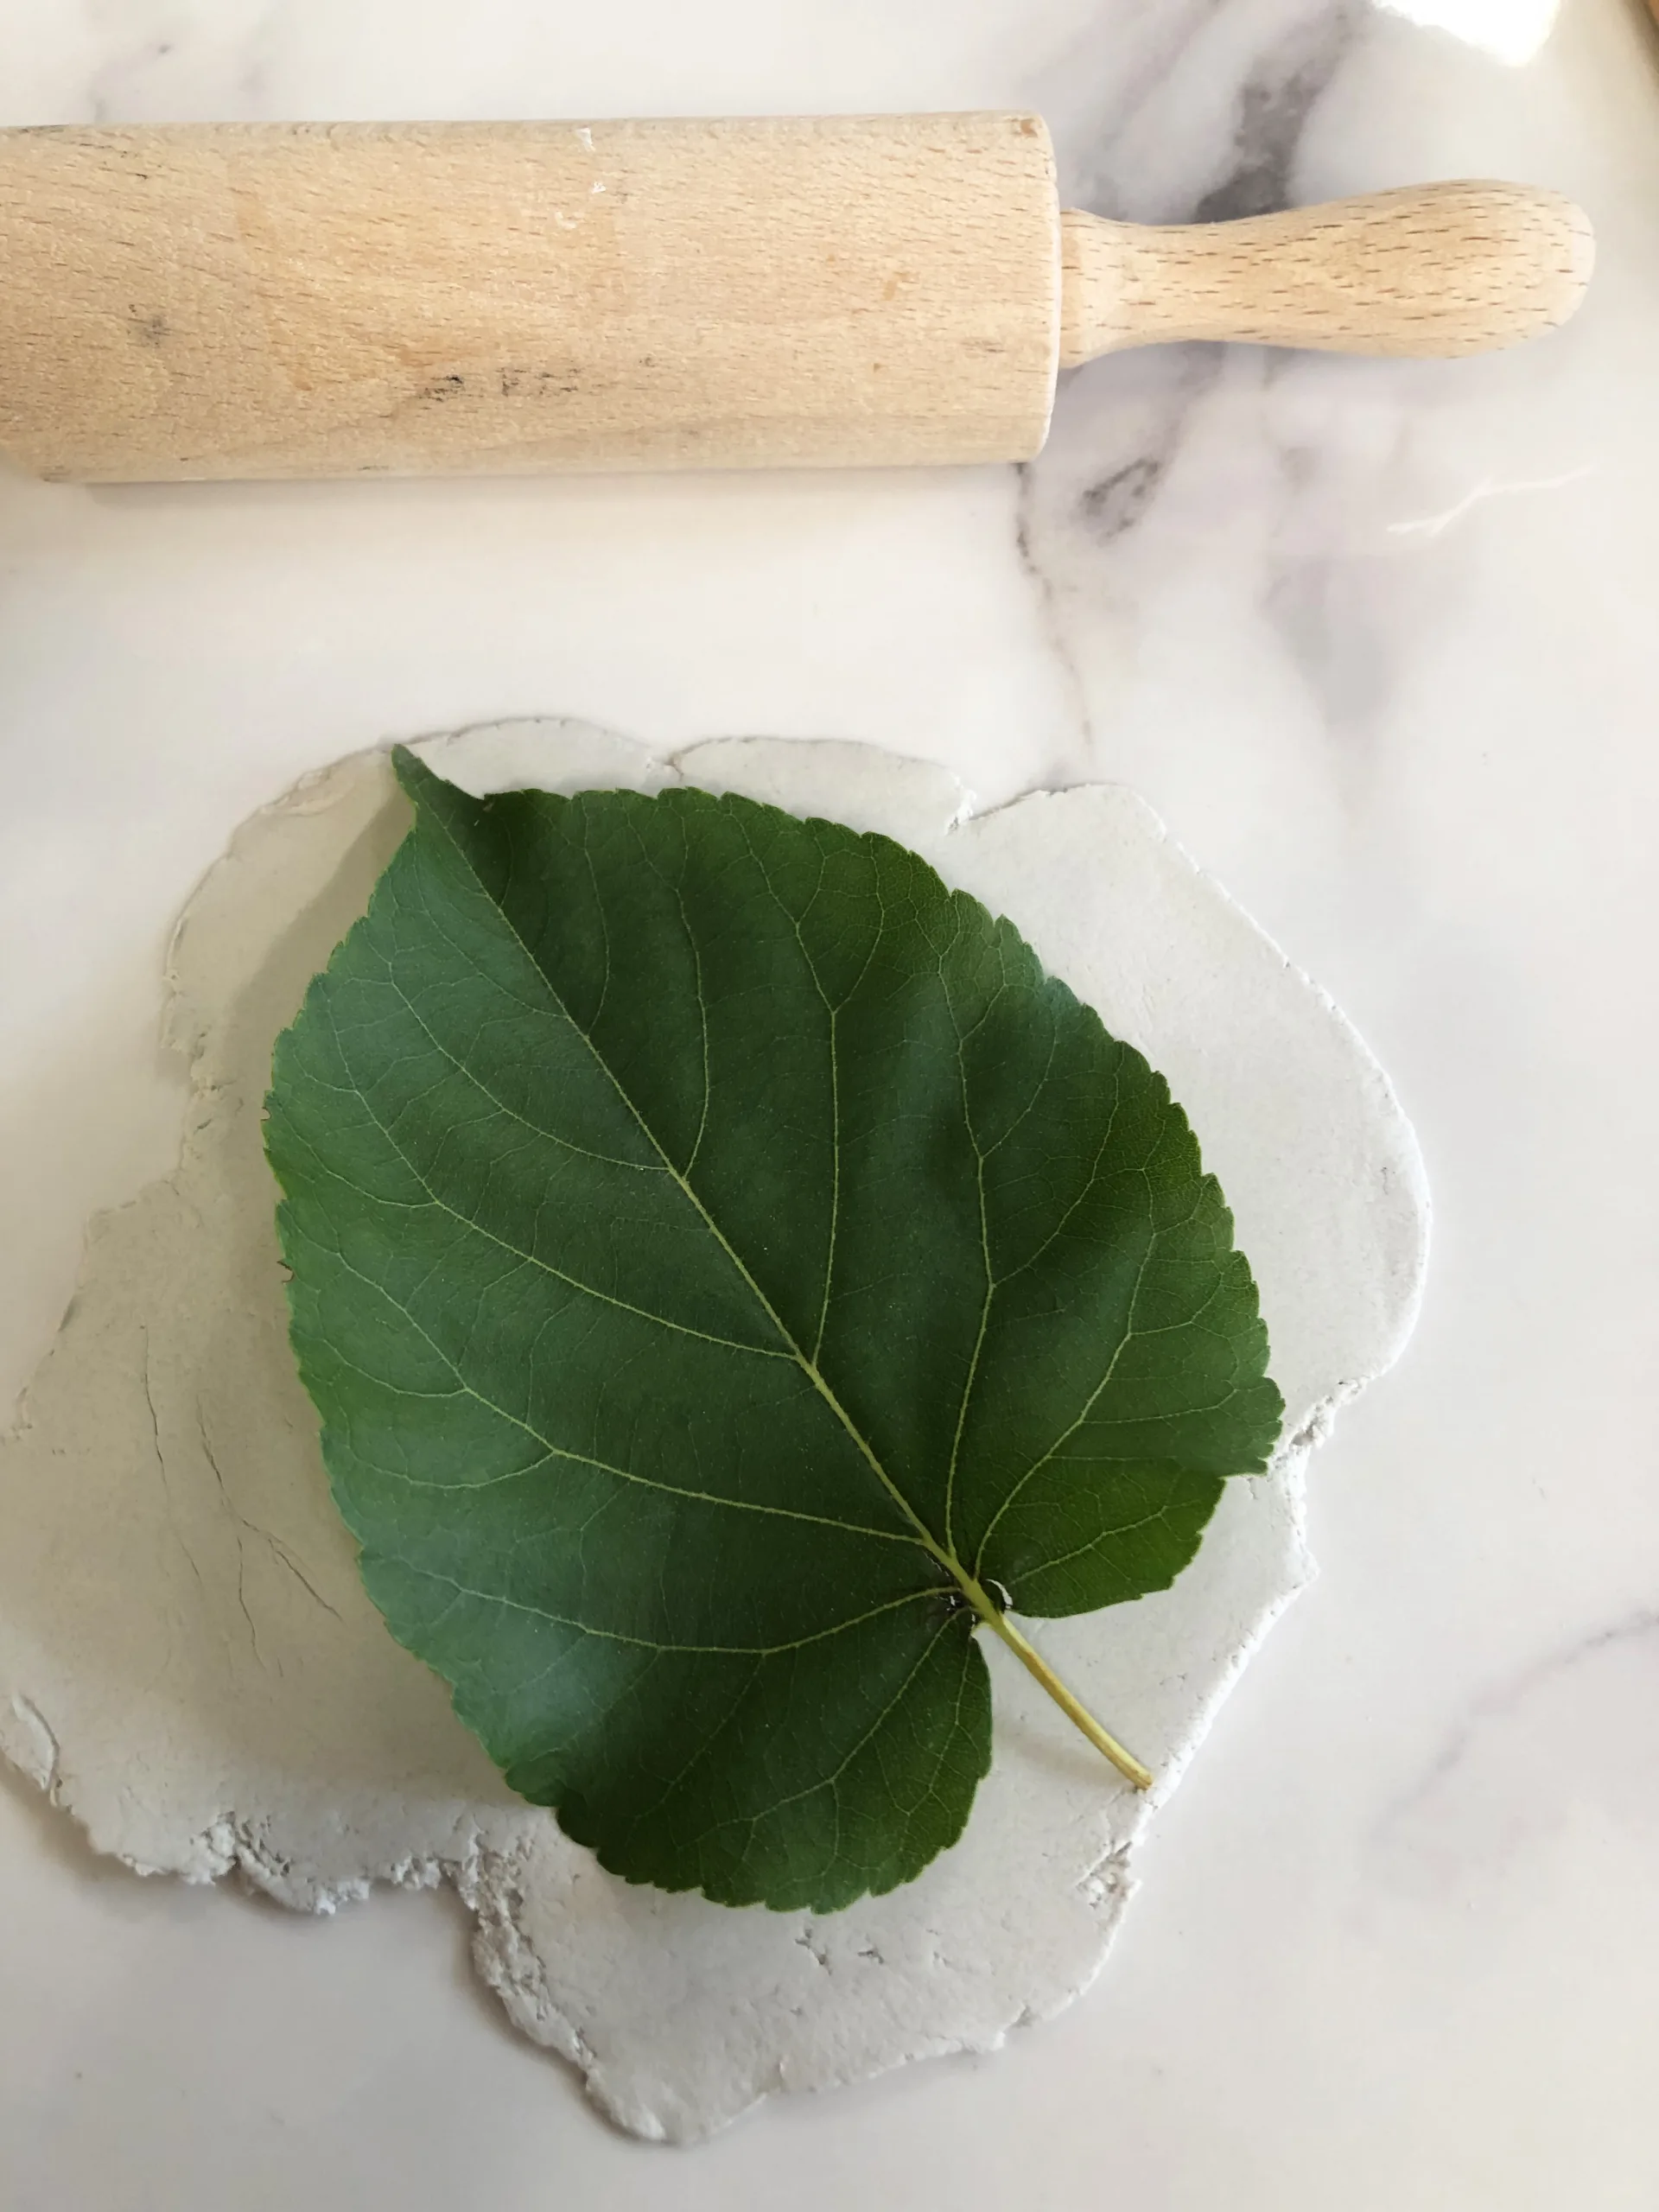
Position a single leaf carefully onto the clay surface, with its veins facing down. Gently but firmly press the leaf onto the clay, ensuring the veins make a clear impression on the surface. The leaf’s intricate details will be imprinted onto the clay, serving as the foundation of your trinket dish’s design.
Step 4: Shaping the Trinket Dish
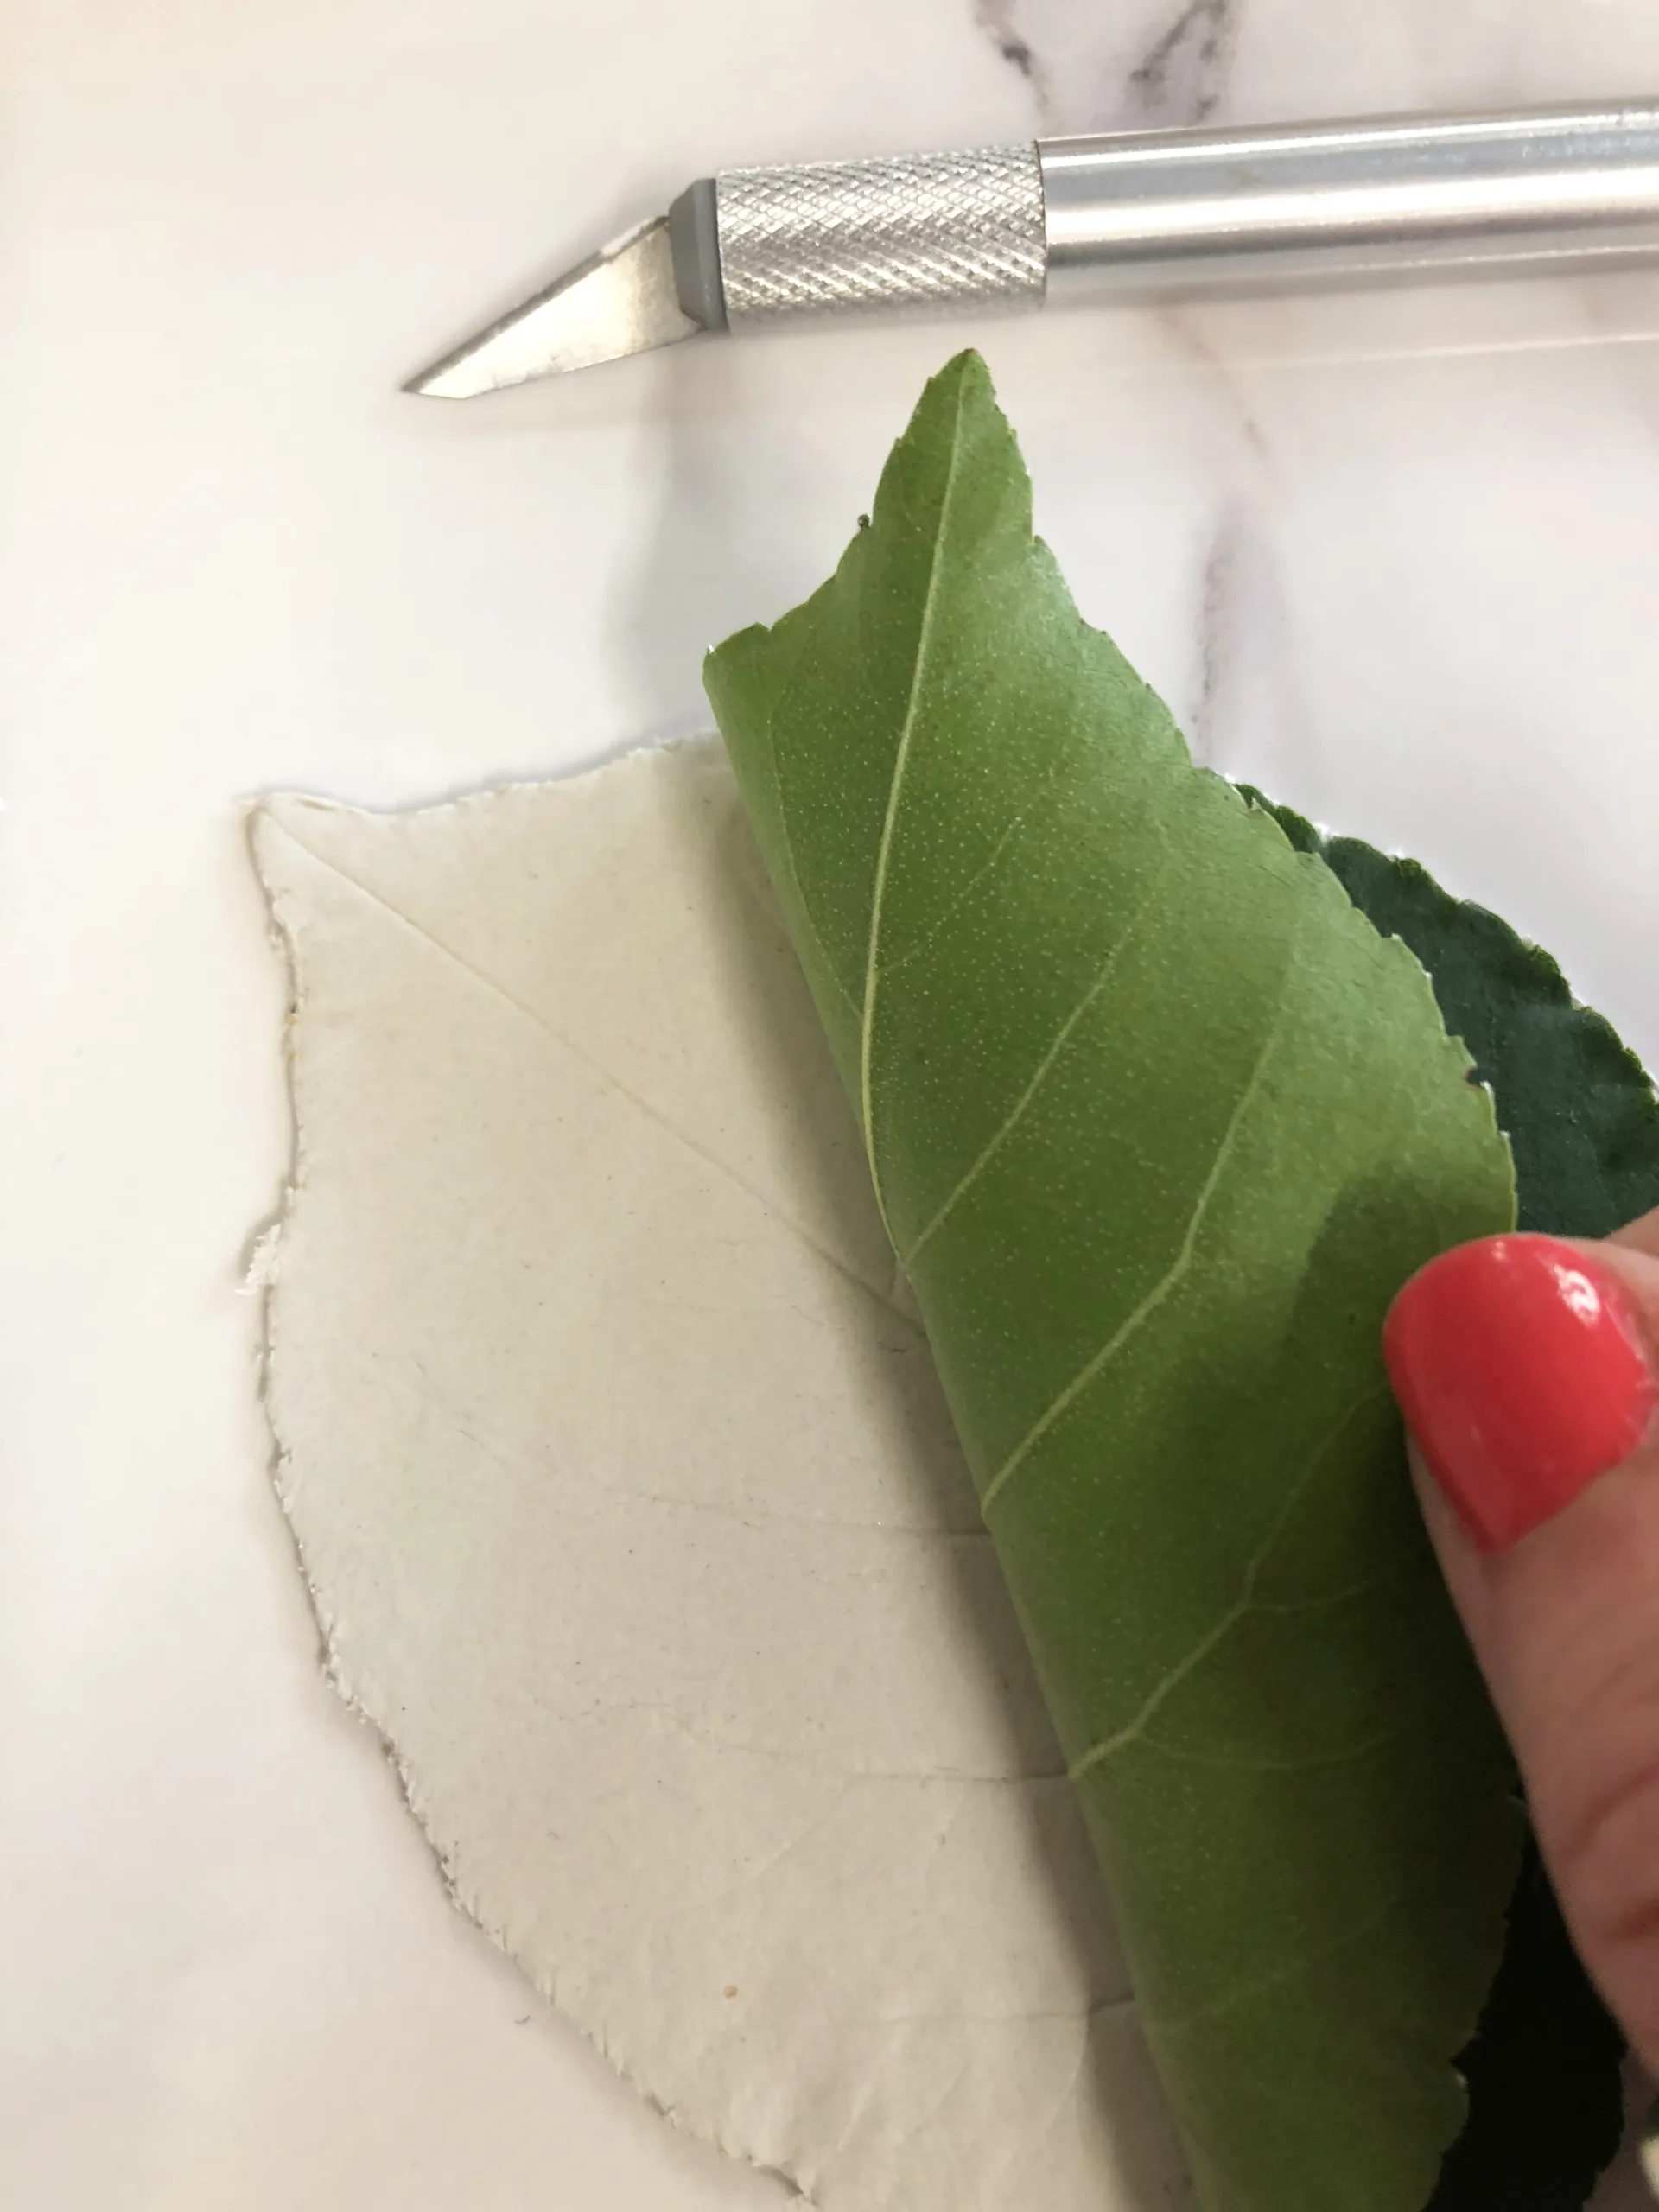
Using a knife or clay-cutting tool, carefully trim away the excess clay around the leaf, following its natural outline. Take time creating a clean and precise shape, staying true to the leaf’s original form.
Step 5: Adding a Touch of Elegance
Now, it’s time to transform the flat clay canvas into a charming trinket dish. Gently curl up the sides of the clay to create a shallow edge, similar to a small dish or bowl. This elegant shape will provide a practical and visually appealing space for your trinkets or decorative items.
Step 6: Drying and Curing
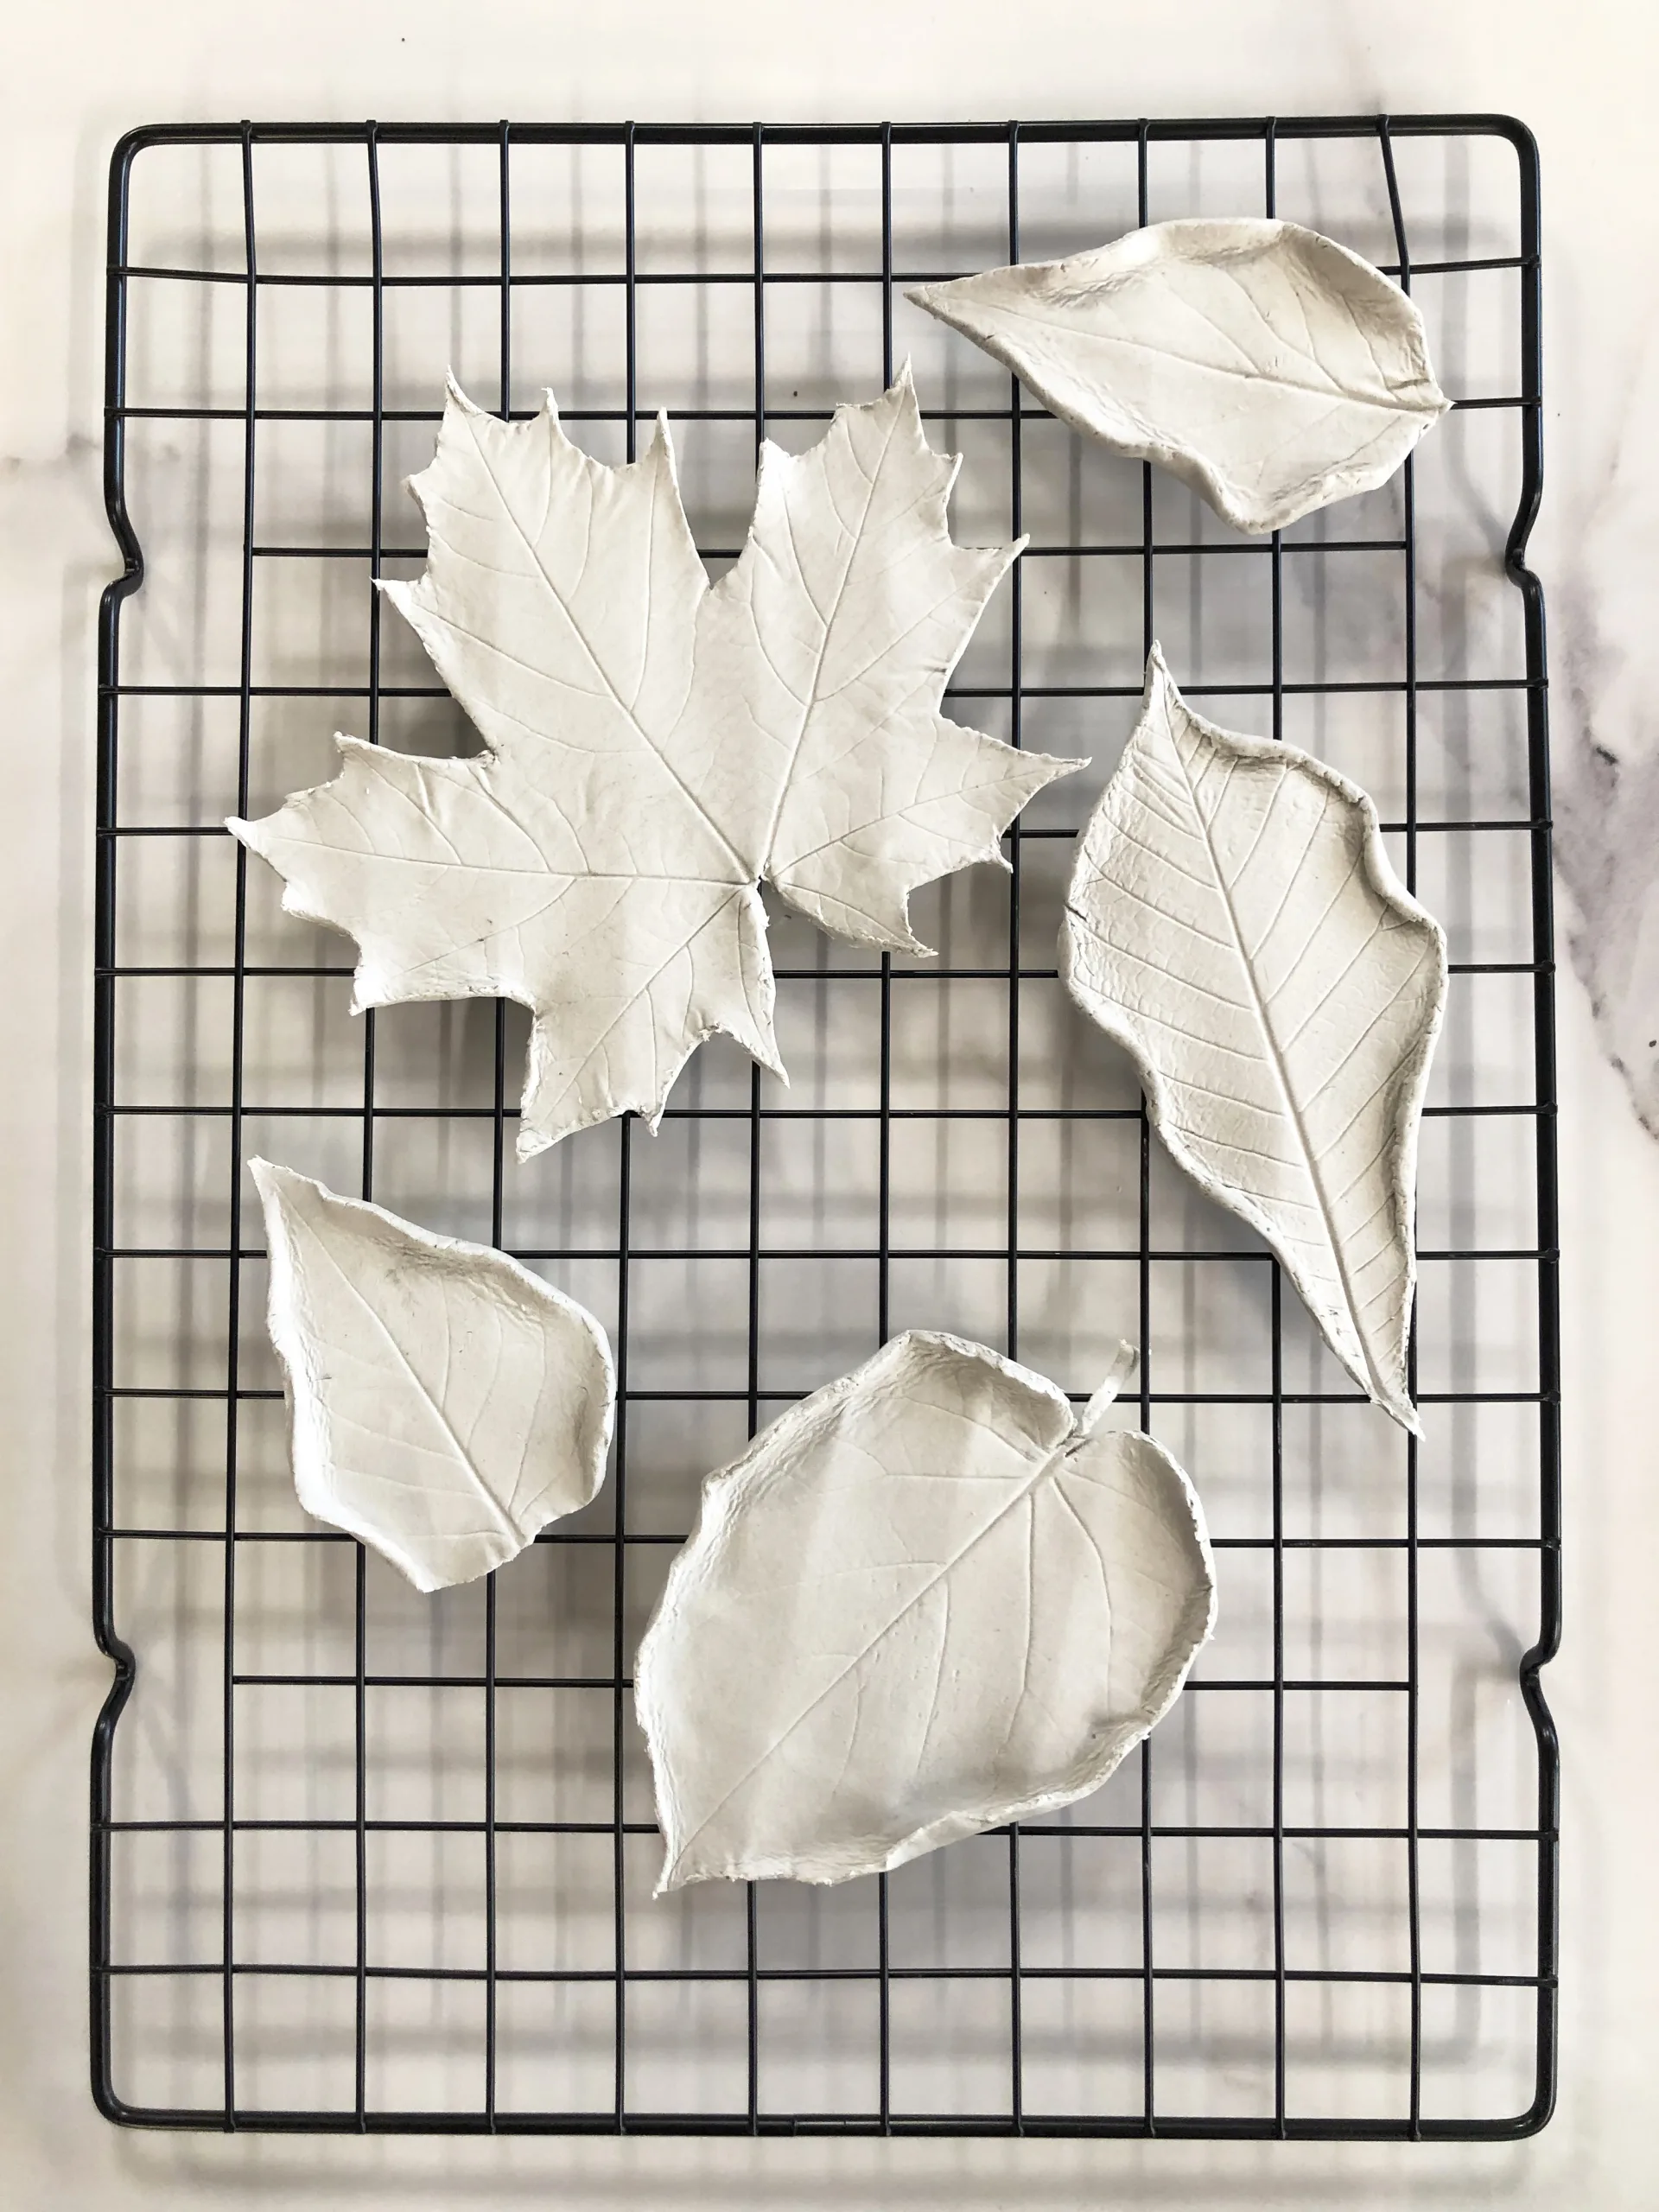
Place your completed autumn leaf trinket dish on a cooling rack and allow it to air dry overnight. The drying process will solidify the clay and prepare it for painting.
Step 7: A Glimmering Finish
Once the clay dish has completely dried, it’s time to add a touch of glamour. Select your preferred metallic paint colour and apply a thin and even coat to the dish’s surface. The metallic hue will emphasise the delicate imprints of the leaf.
Step 8: Allowing the Beauty to Set
After painting, give your trinket dish sufficient time to dry and cure. This will ensure the metallic paint adheres perfectly and maintains its lustrous shine.
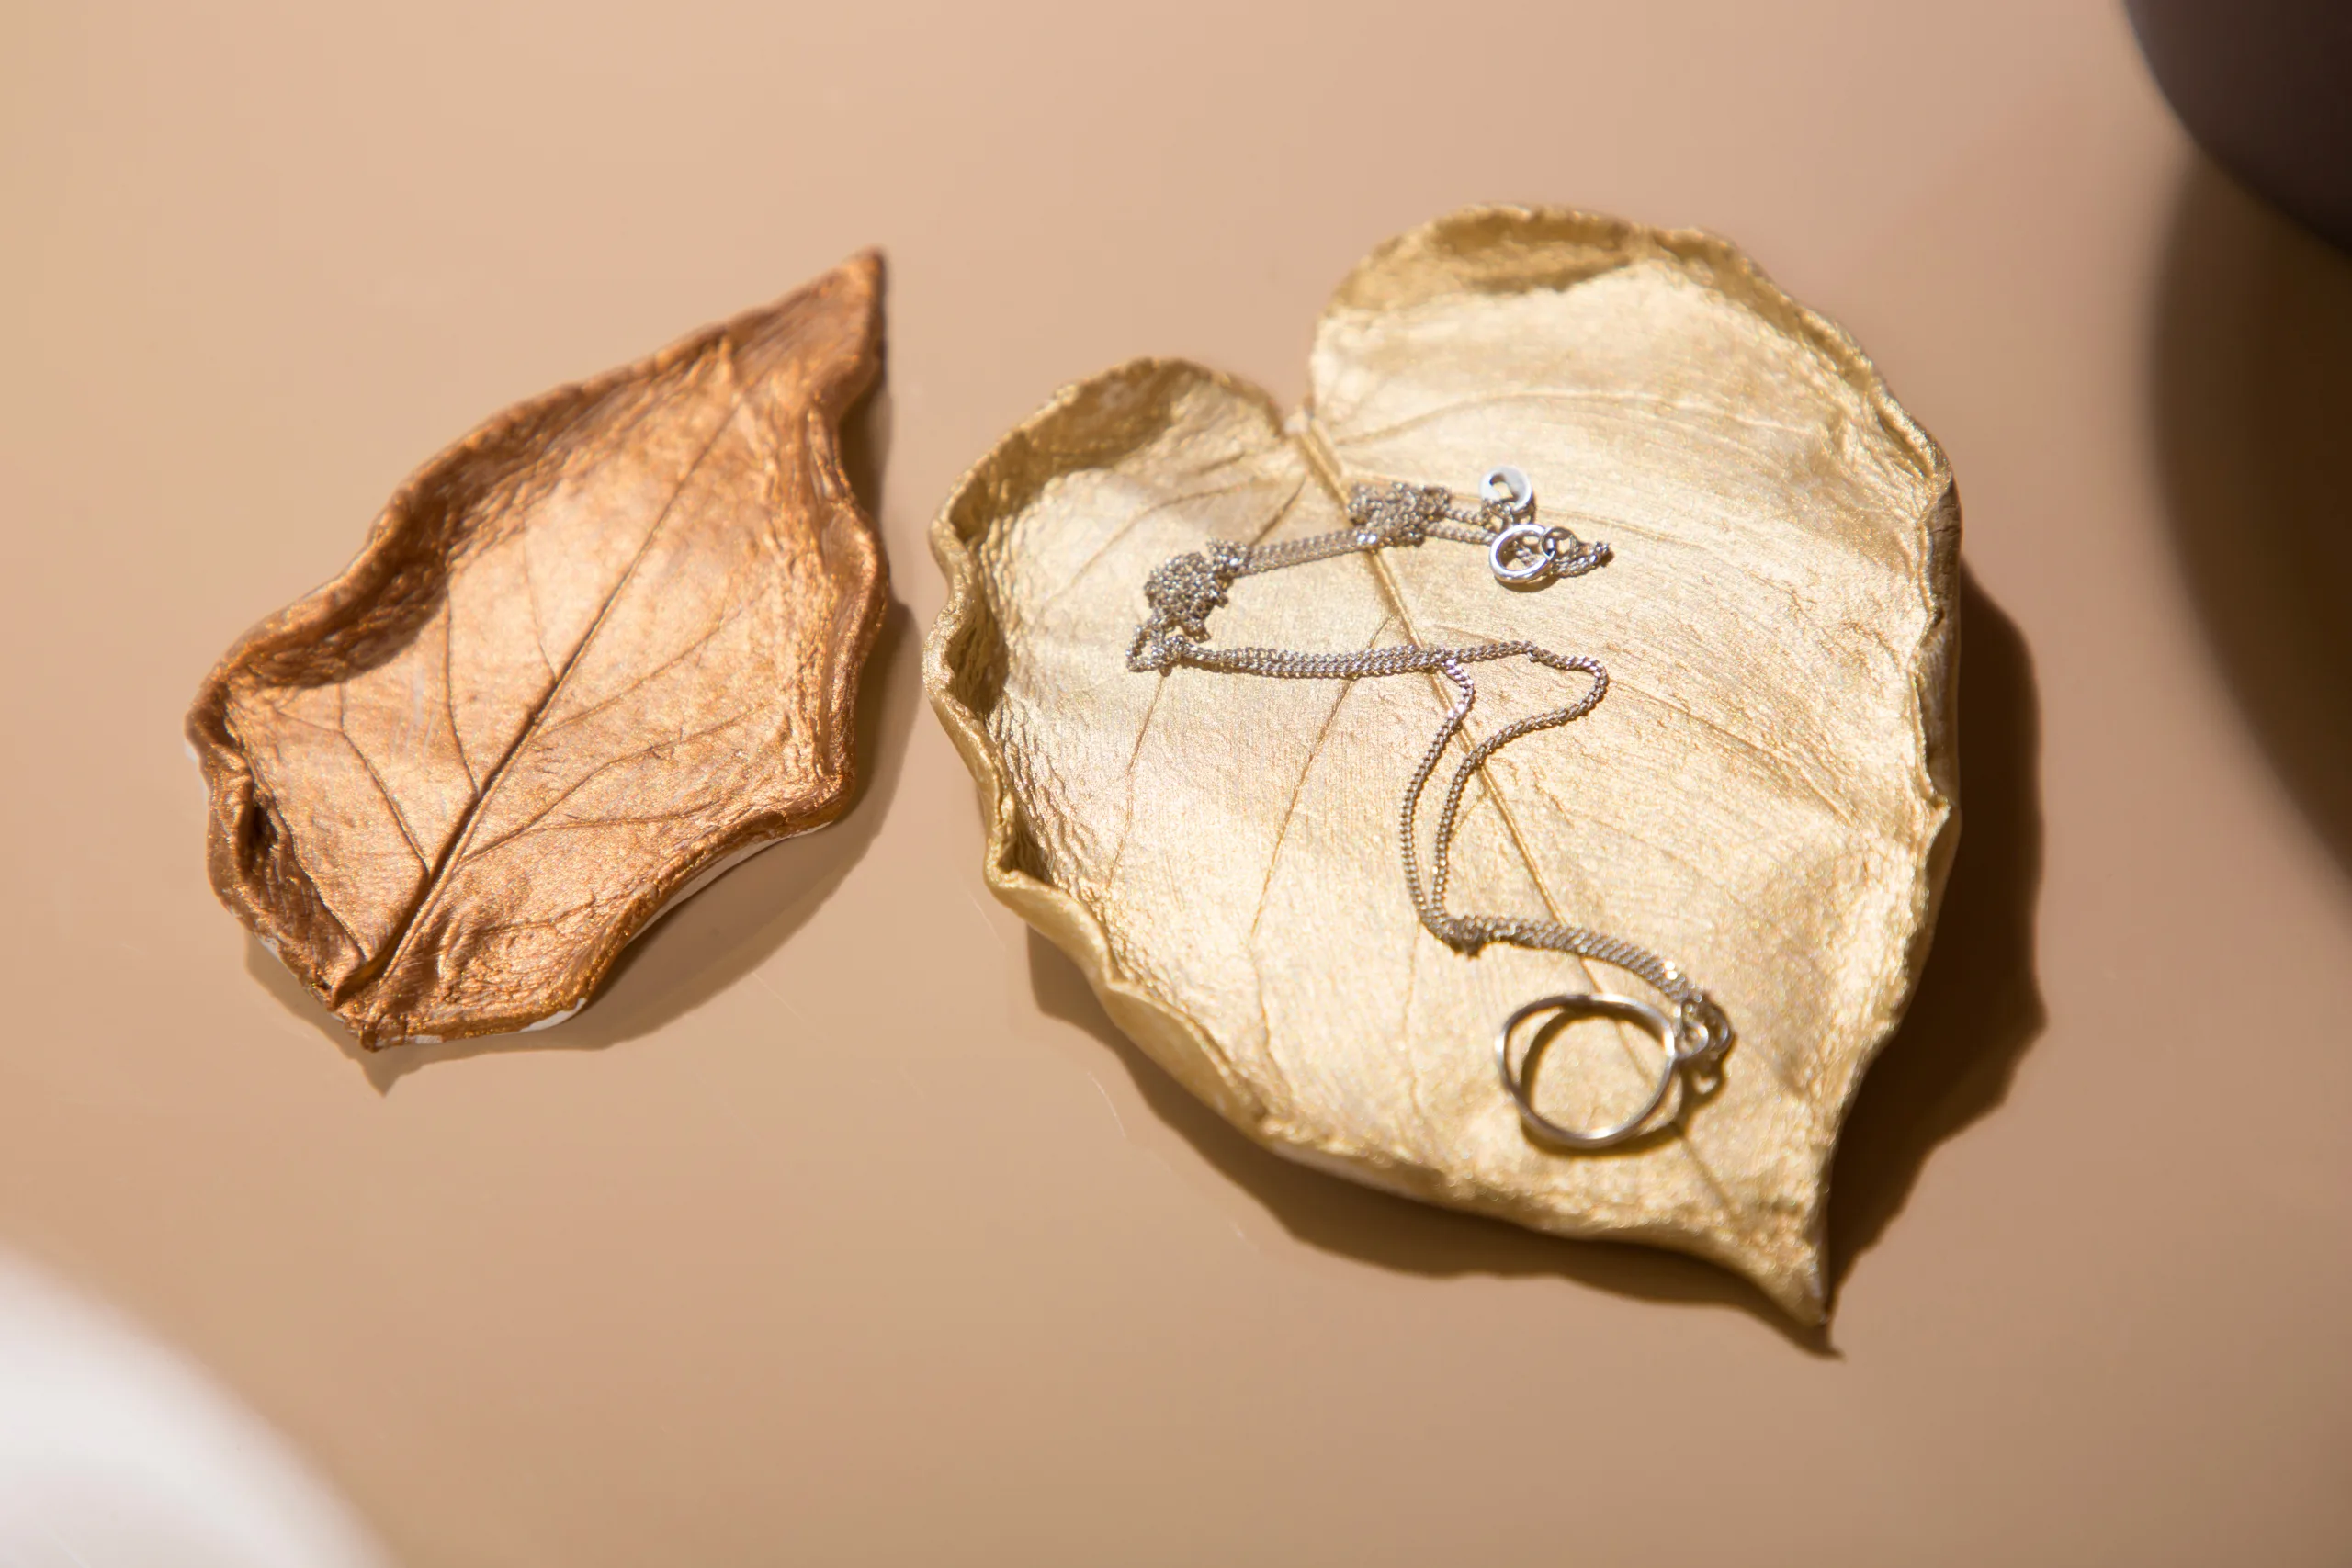
Congratulations on crafting your very own Autumn Leaf Trinket Dish! Embrace the beauty of autumn and showcase your creativity with this enchanting decorative piece. Whether you use it to hold your treasured keepsakes or display it as a charming ornament, your unique creation will be a delightful reminder of the season’s splendour.
Credit: Furniture And Choice
NorthernLife Sep/Oct 23